I recently decided to update the version of PixInsight I'm using and as such I ended up having to re-install the StarNet plugin. This can be a tricky process so I'm memorialising the approach to help anyone else and my future self with it.
What is StarNet?
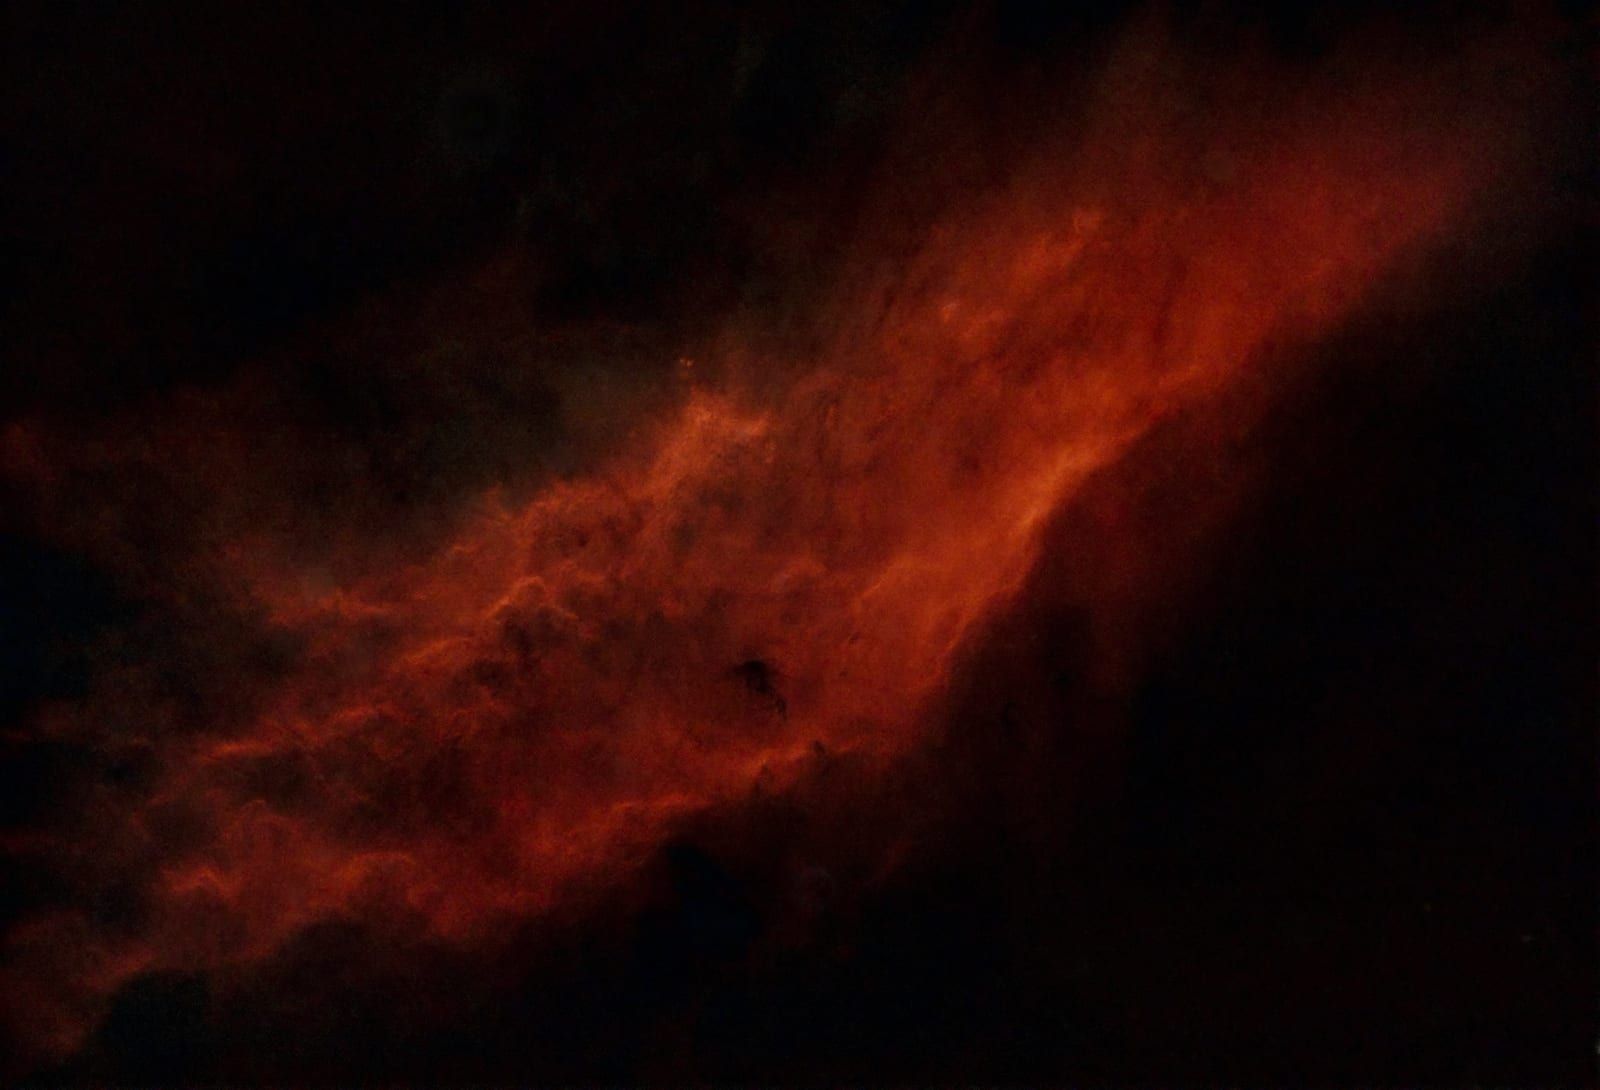
StarNet is a really powerful tool that allows you to very precisely select the stars in an image and extract them into a mask. This provides a lot of options when it comes to image processing but it also facilitates the creation of starless images like the one displayed above. It makes for a very striking effect and a different perspective on deep sky objects, particularly nebulae.
Downloads
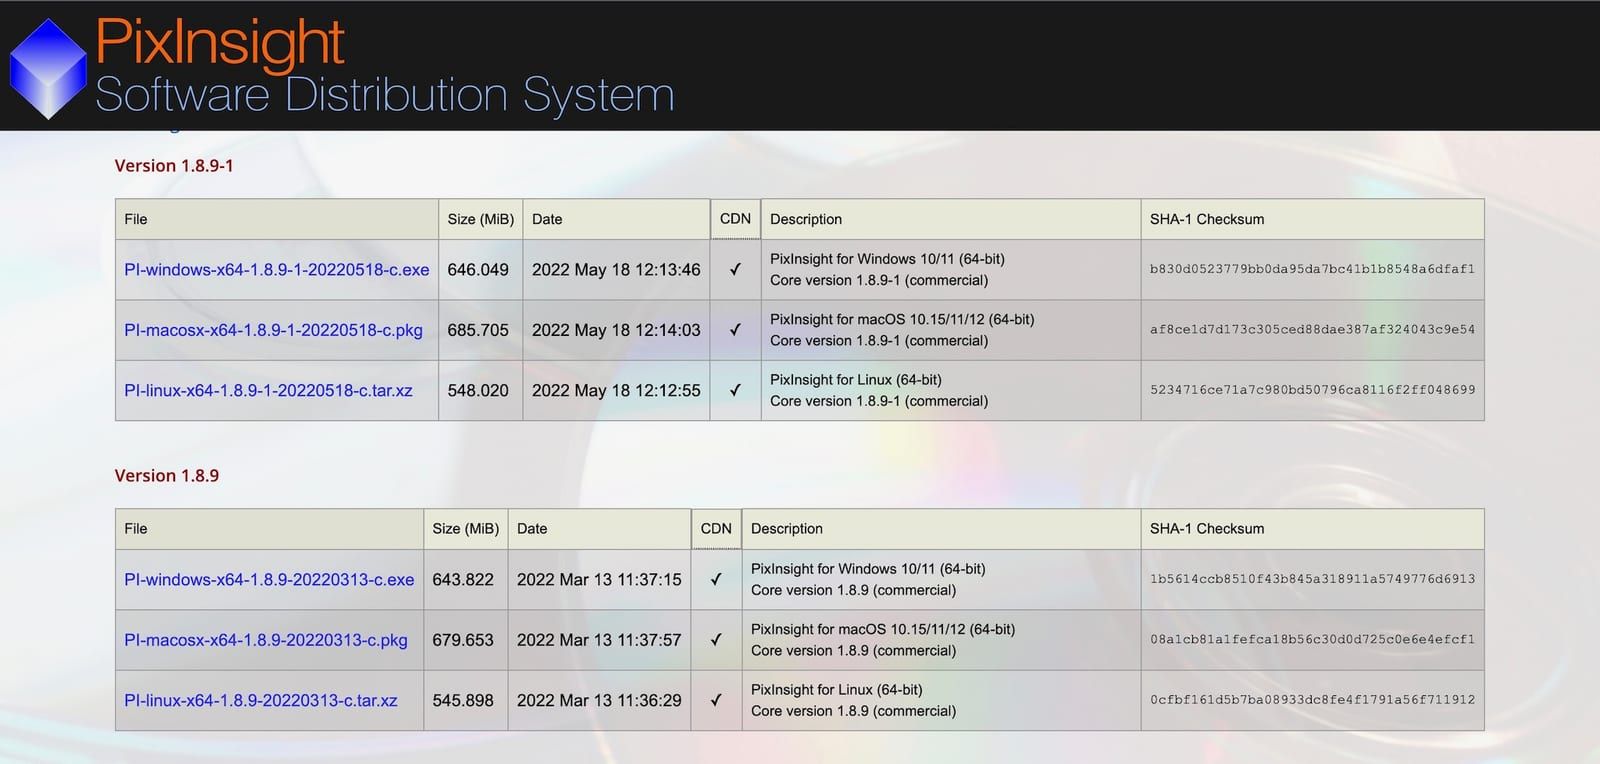
Start by downloading the latest versions of the following for MacOS.
Installation
Once the downloads finish, follow these installation steps in order.
PixInsight
Run the installer as normal, but don't open the app once it's finished.
Note that you may run into an error during installation if you have an existing version of PixInsight installed. Cancel the installation, remove the old version and then rerun the installer, the error should no longer present itself.
StarNet
Start by extracting the contents of the downloaded zip file.
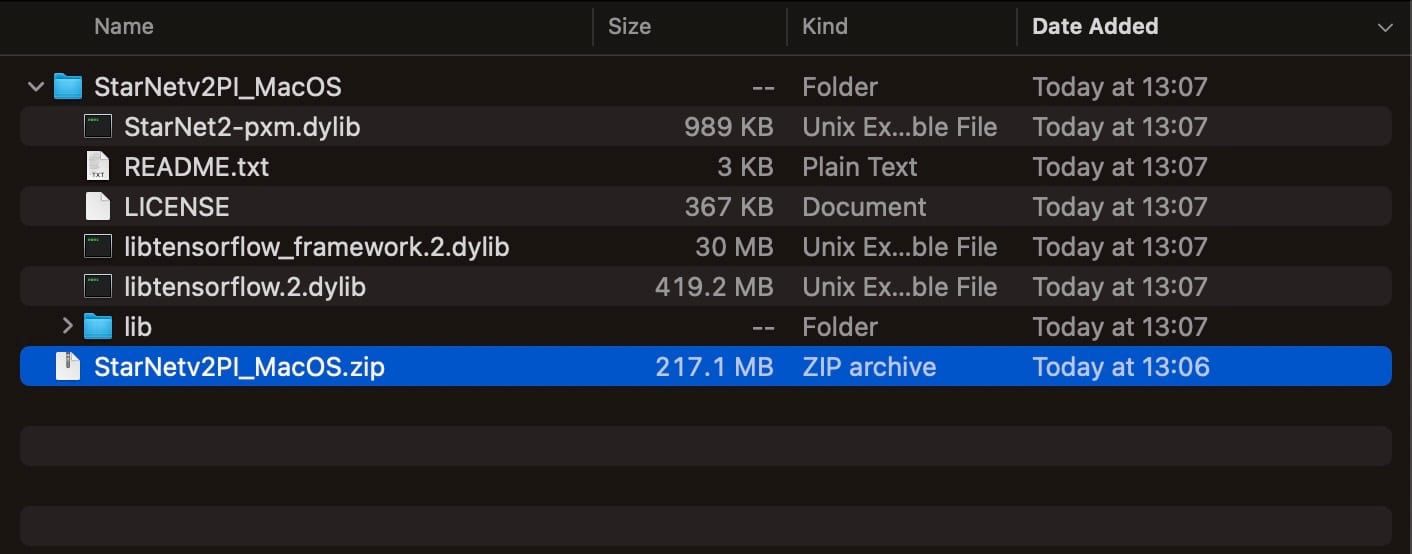
Once extracted, run the following script in a Terminal:
Note that some of these commands require elevated privileges and as such it will likely prompt you to enter your password.
``
StarNet Install Script
cd ~/Downloads/StarNetv2PI_MacOS  # Note: this should be the directory of the unzipped StarNet plugin

chmod 755 StarNet2-pxm.dylib
sudo cp StarNet2-pxm.dylib /Applications/PixInsight/bin
sudo cp lib/StarNet2_weights.pb /Applications/PixInsight/bin

chmod 755 libtensorflow*
sudo rm -f /Applications/PixInsight/bin/libtensorflow*
sudo cp libtensorflow* /Applications/PixInsight/bin
sudo cp libtensorflow* /Applications/PixInsight/PixInsight.app/Contents/Frameworks
Enabling the StarNet Plugin
Open the freshly installed PixInsight app and it should prompt you to install updates. Click the popup and proceed with the installation but don't restart the app at this stage.
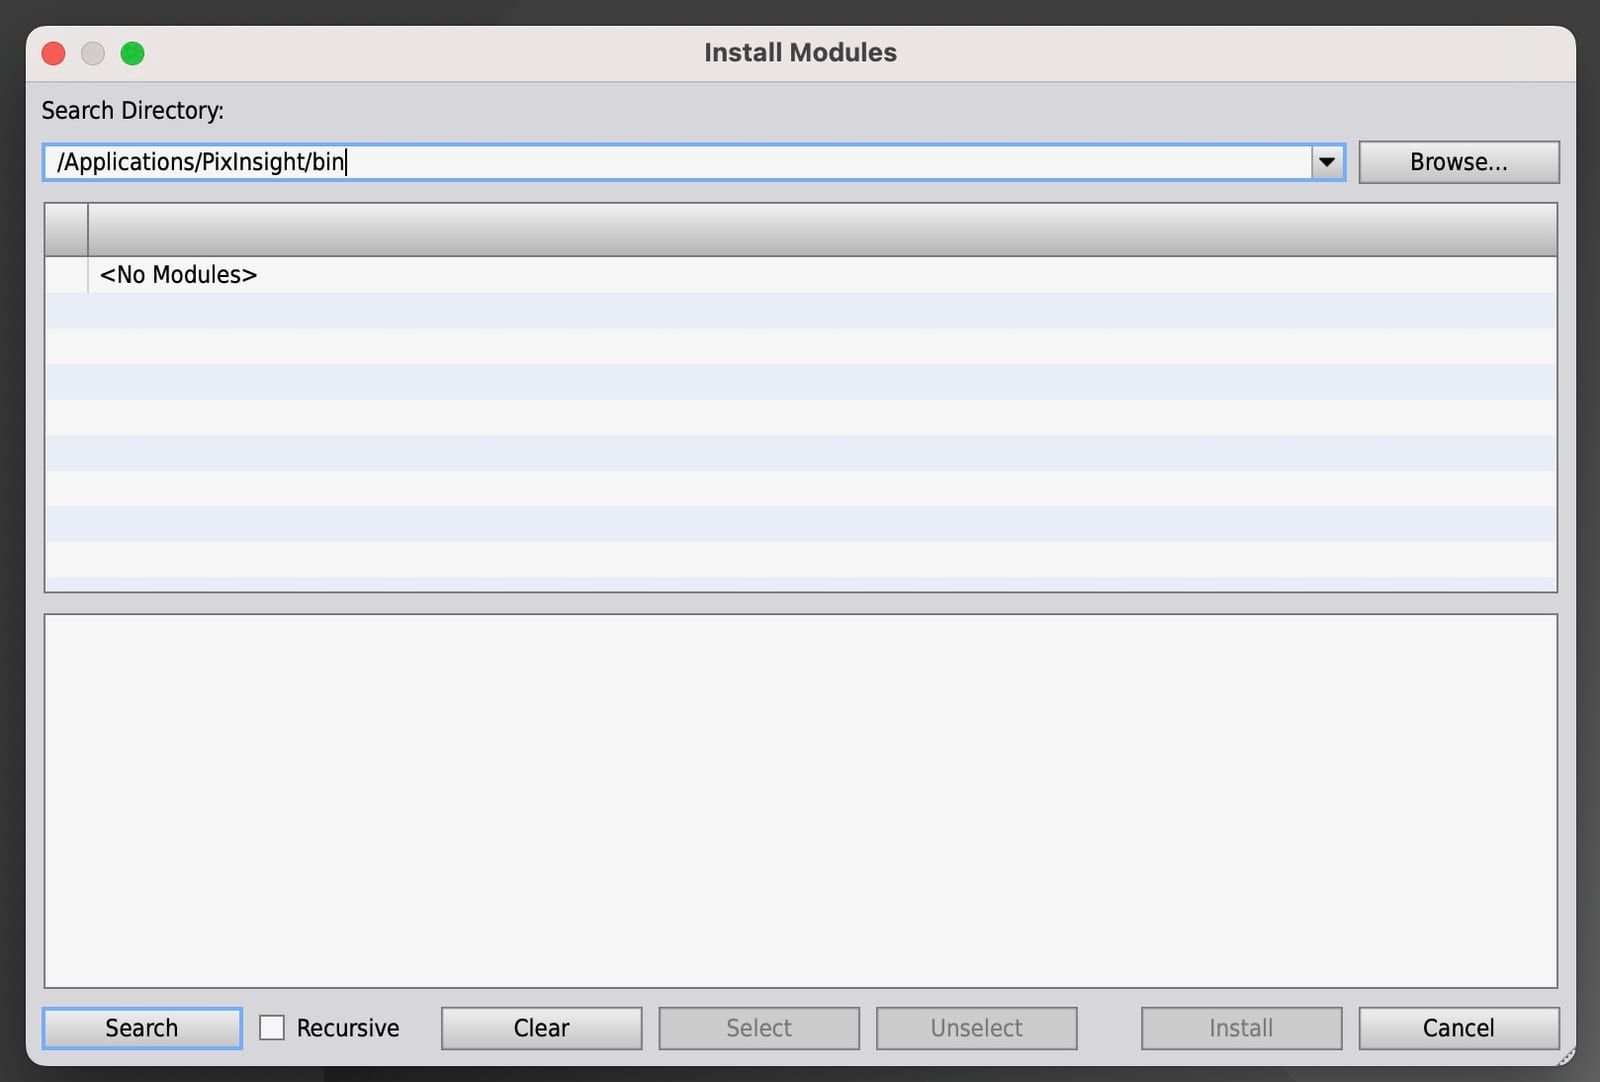
In the top menu go to Process -> Modules -> Install Modules.... Clicking this will bring up a new window as shown below. Ensure the search bar at the top is populated with /Applications/PixInsight/bin then click Search in the bottom left corner.
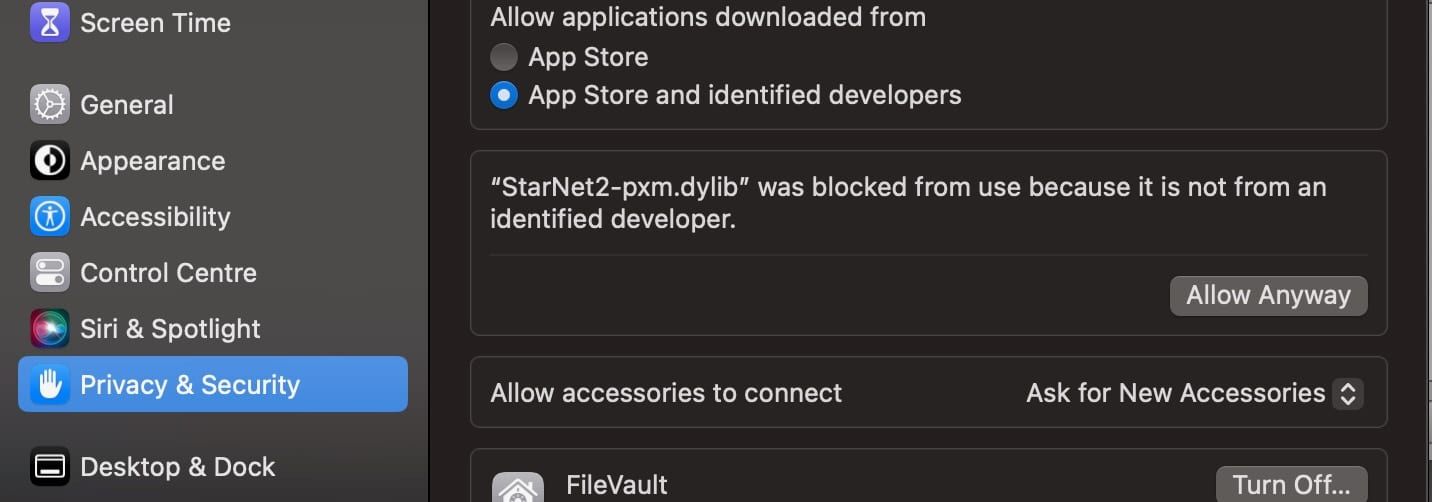
At this point you'll likely get a prompt/warning about the StarNet plugin with the option to view it in the Finder window. Open the System Settings app and go to Privacy & Security, scroll down a little and you should see a section shown in the image below. Click on Allow Anyway to give access to the plugin.
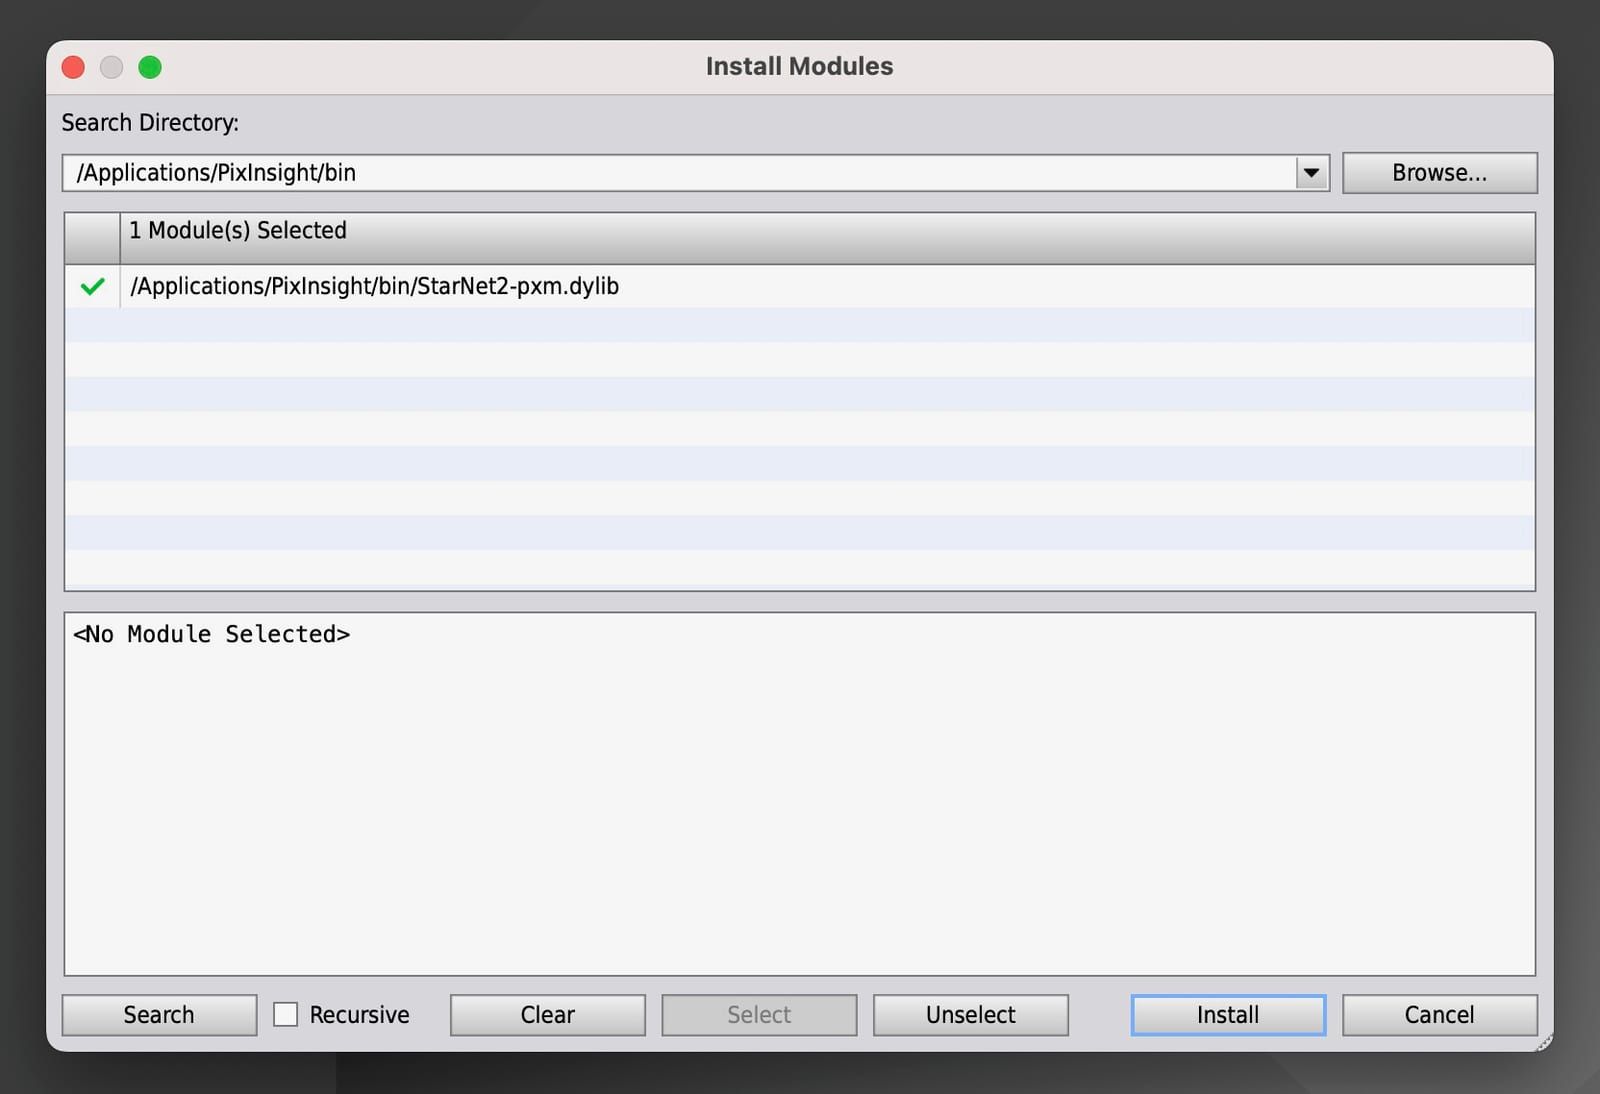
Once completed return to PixIngsight, go to Process -> Modules -> Install Modules... again and click Search. This time you should find it detects the plugin correctly and displays it in the table. Click Install and allow it to complete the setup.
Final Steps
Once the StarNet plugin has installed correctly, restart PixInsight and it should prompt you to install the various updates. Allow this to proceed and then launch the app again. You should have an up to date version of PixInsight that includes a functional version of StarNet.
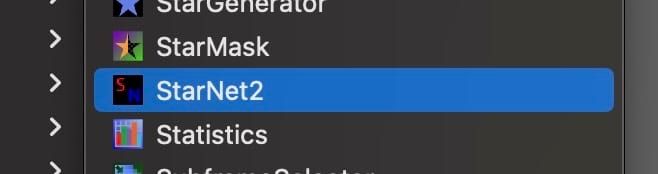
To verify this you can go to Process -> Modules -> <All Processes> and scroll to the bottom of the list. StarNet should appear as an option.