
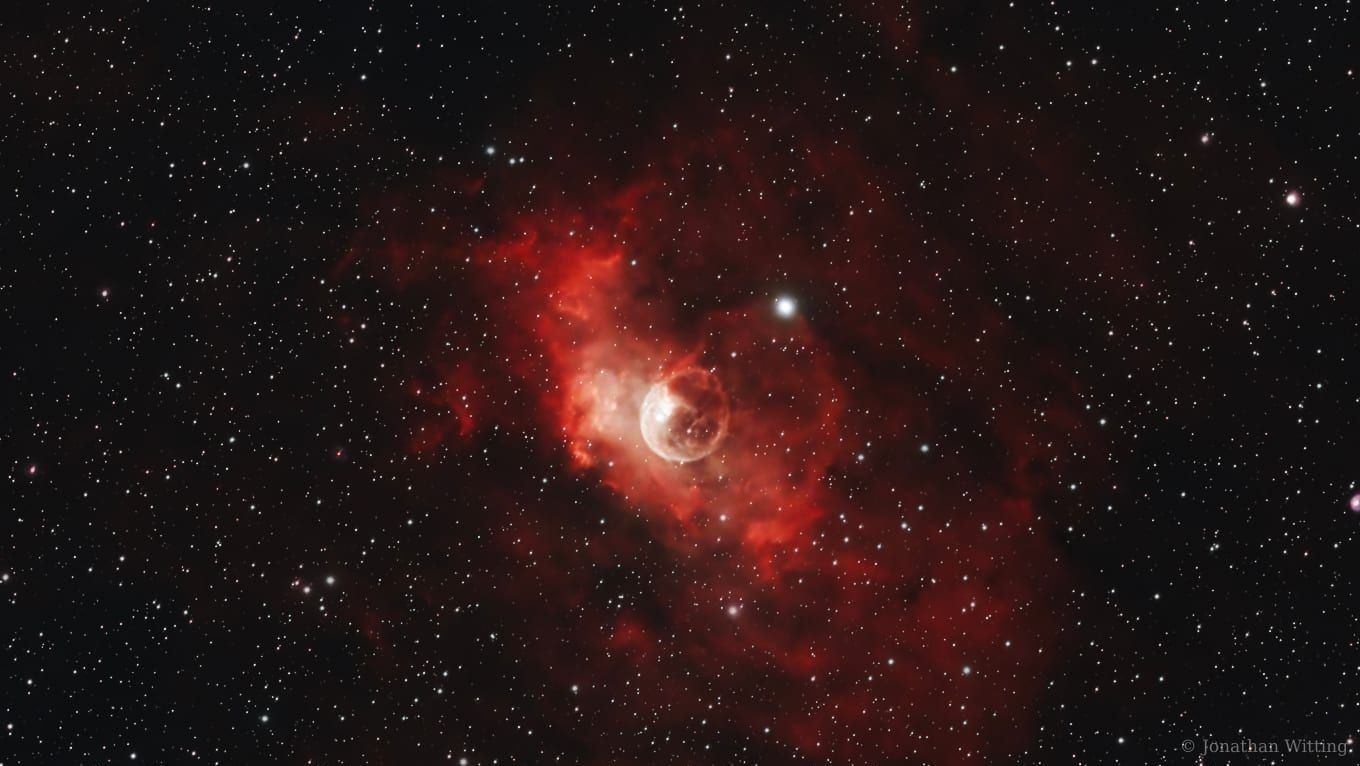
Emission nebulae are forgiving targets to process. They're bright, colourful and full of structure, but it's still easy to end up with blotchy backgrounds, bloated stars, or that over-cooked "nuclear" look. This is the workflow used for the Bubble Nebula image above, and it applies to pretty much any emission nebula.
1. Calibration and stacking
Everything starts in WeightedBatchPreProcessing (WBPP). Feed it your lights, darks,
flats and bias or dark-flats, set the reference frame to your best sub (check with
SubframeSelector if unsure), and let it run. The defaults are sensible. The one
thing worth changing is enabling Local Normalization for data captured across
multiple nights, as it evens out differences in sky conditions between sessions.
2. Crop and gradient removal
Stacking artefacts around the edges will poison every later step, so deal with them first:
DynamicCropto remove the ragged edges left by dithering and field rotation.DynamicBackgroundExtraction(DBE), placing samples in truly empty sky and avoiding the nebulosity. For a target like the Bubble, where faint hydrogen fills much of the frame, a few well-placed samples beat many careless ones. Use Subtraction as the correction method for light pollution gradients.
3. Colour calibration
With clean backgrounds, run SpectrophotometricColorCalibration (SPCC). It plate-solves
the image and calibrates colour against Gaia spectra, which removes all the guesswork.
White balance is no longer a matter of taste. Follow it with a gentle SCNR (green,
around 0.8) to mop up any residual green cast.
4. Stretching
This is where images are made or ruined. The aim is to brighten the nebula while keeping the background dark and the stars small:
- Use
ScreenTransferFunctiononly for previewing, never apply it directly. - Make the real stretch with
HistogramTransformationin two or three modest passes rather than one big one, keeping the background peak around 0.10 to 0.12. - If you separate the stars first (StarNet or a similar star removal tool), you can
stretch the starless nebula much harder, then recombine with
PixelMathusing~((~stars)*(~starless)).
5. Finishing touches
CurvesTransformationfor a gentle S-curve of contrast, plus a saturation boost applied through a chrominance mask so the background stays neutral.- Noise reduction (
MultiscaleLinearTransformorTGVDenoise) applied through an inverted luminance mask, so it works on the dim areas and leaves the bright detail alone. - A final
DynamicCropfor composition, andResamplefor web export.
None of these steps is complicated on its own. The discipline is doing them in the right order, and resisting the urge to fix everything in a single heroic stretch. Slow and steady wins this race.