
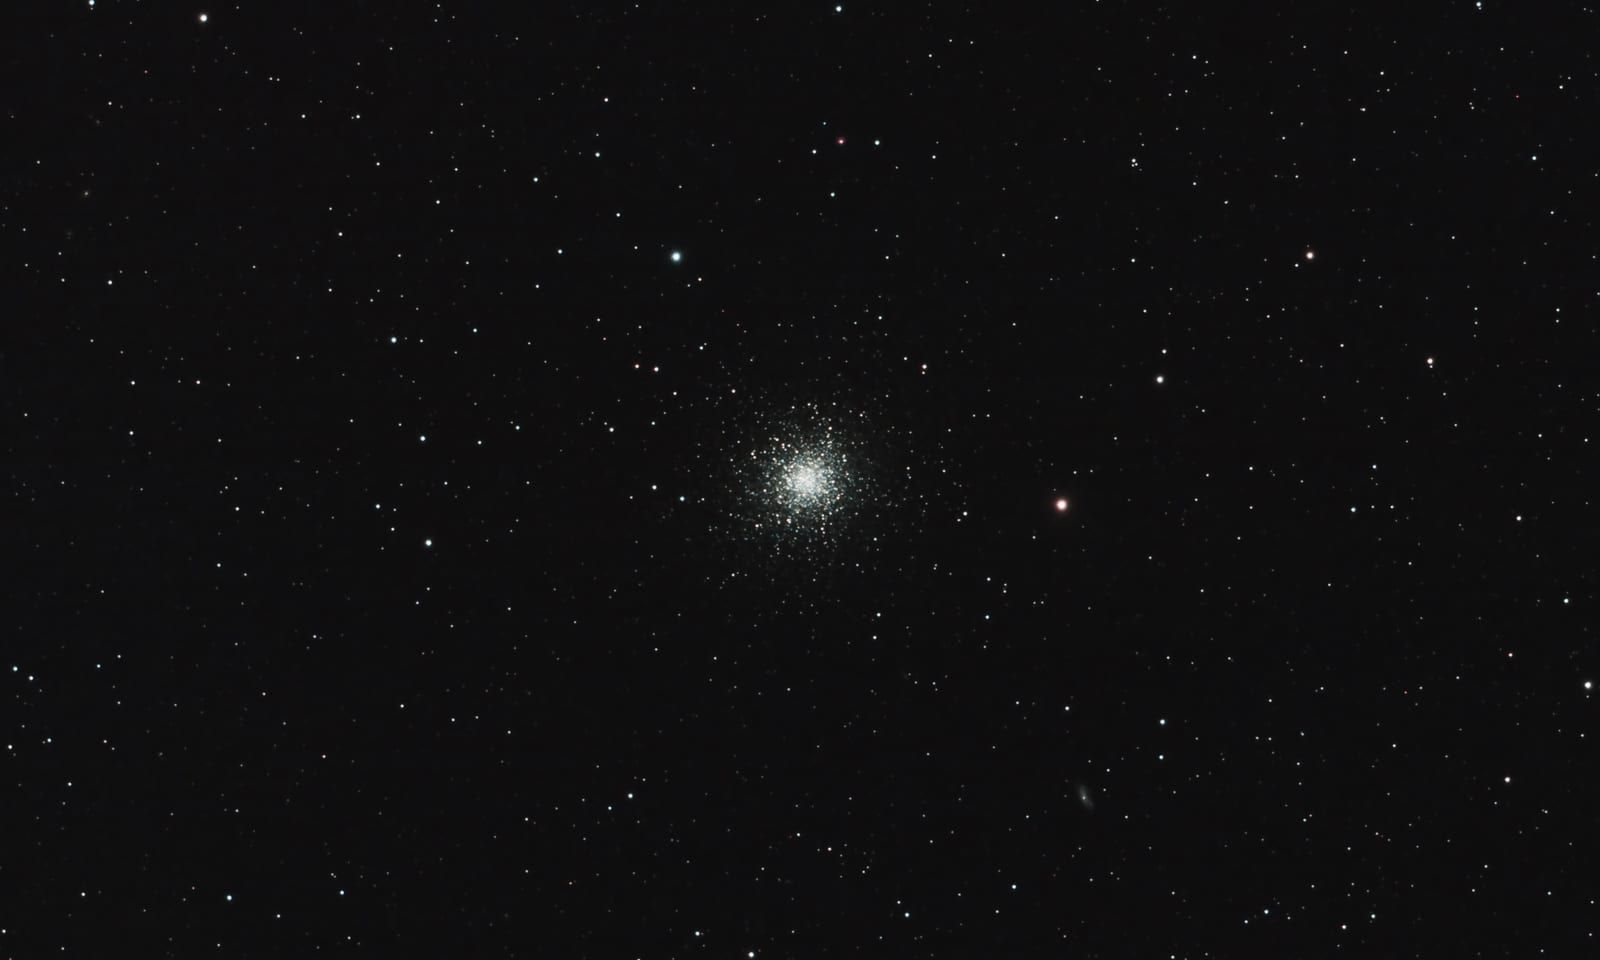
It had been a while since my last night of imaging; I reckon somewhere in the region of 3 months or more. As such I was keen to dust off my scope and get back outside again for another night of astrophotography. Sadly, this time of year really doesn't favour the hobby though. The long days during British summertime mean there are only around 2-3 hours of darkness at night, making it difficult to capture a reasonable amount of data for an image. That said, I decided to plough ahead regardless and give it a go.
The first step I took was to try and pick a target to photograph. For this I referred to a couple of resources:
- The 100 Best Astrophotography Targets book
- Sky Safari Pro app on iOS
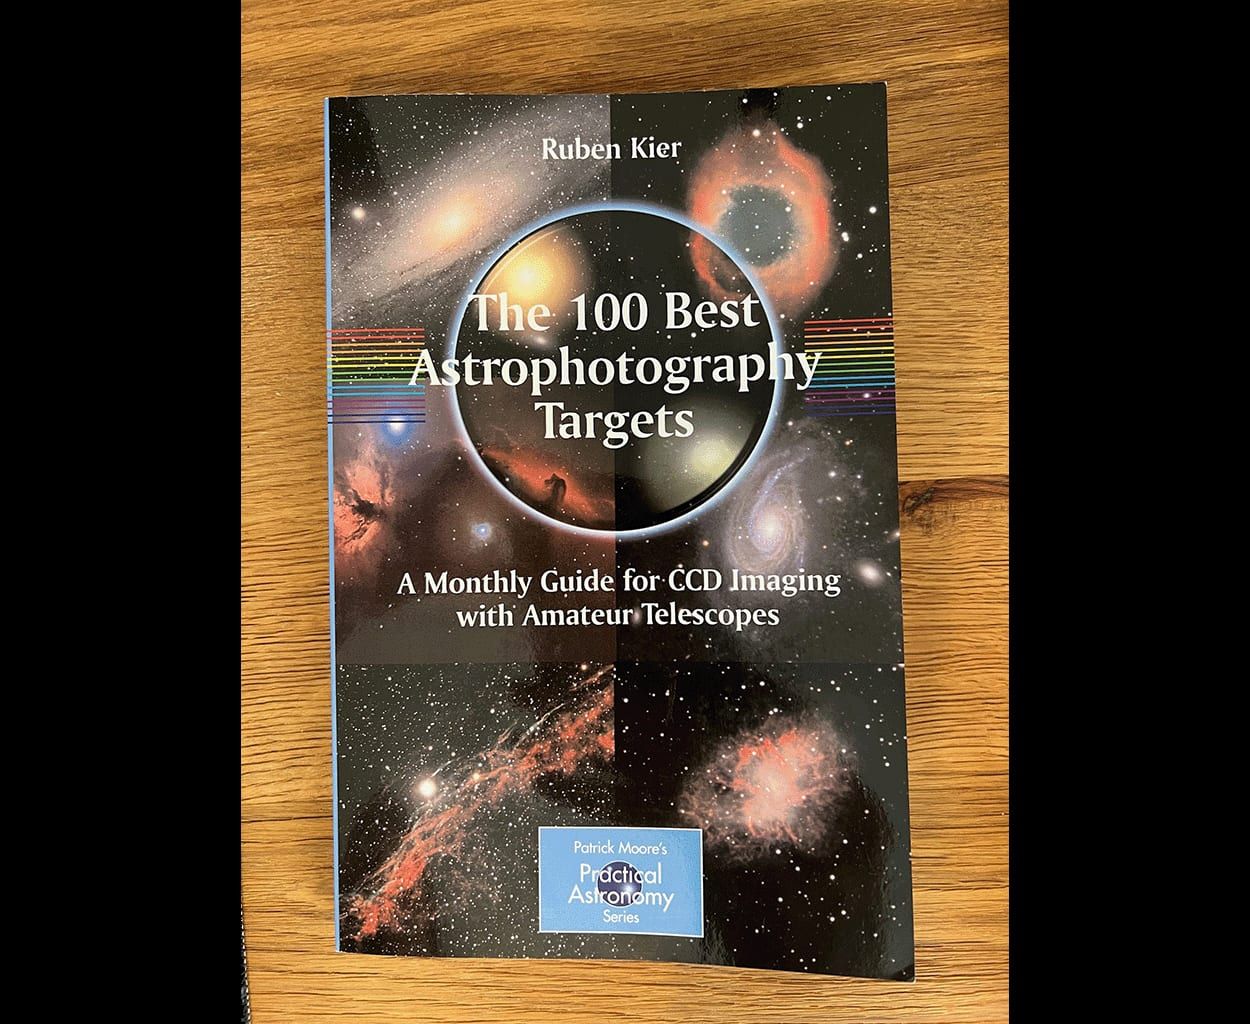
The book is broken down by month with recommended targets for each. As expected, July that didn't consist of many choices, just a couple of globular clusters. One of these was a cluster I'd heard of before and had been wanting to image for some time; M13 - Hercules Globular Cluster. A beautiful cluster in the Hercules constellation, comprised of well over 100,000 stars packed into an area of space that spans just 100-150 light years across.
It's such a densely populated pocket of space that it presents quite a challenge when it comes to imaging. You need enough exposure time to gather the required light for the image, but not too much that all the stars end up over exposed. Stray into this territory and the result is a “blown out” core which ends up looking like a big whiteish-yellow blob of light. Once you've figured out that problem, the next is tracking. Photographing such a dense cluster of stars requires pinpoint accuracy and impeccable guiding in order to preserve any real definition of the individual stars that make up the cluster. All in all, quite a challenge.
The other resource I consulted was the sky safari app. I've been using it for over a year now and really like it. It's a very clean, simple user interface that displays all the relevant information in easy to find places.
I set the time to that of the few hours of darkness we get during summer and looked around the zenith for targets that could be of interest. I should also add that I preconfigured the app to have the details of my telescope and camera sensor size so that it overlays an FOV (field of view) indicator to make life even easier. Beyond this I filtered down the targets displayed based on their size/magnitude to just those that my telescope is capable of imaging. This just reconfirmed that M13 was a good choice for target.
Once I'd decided M13 was the target for the night I then set to thinking about how long each sub-exposure should be. I opted for 30 seconds per photograph so that the risk of ending up with star trails was low (assuming decent guiding) and I'd still be able to get enough light in each image. With enough of these 30 seconds subs stacked together I figured I may be able to pull together an image worth sharing.
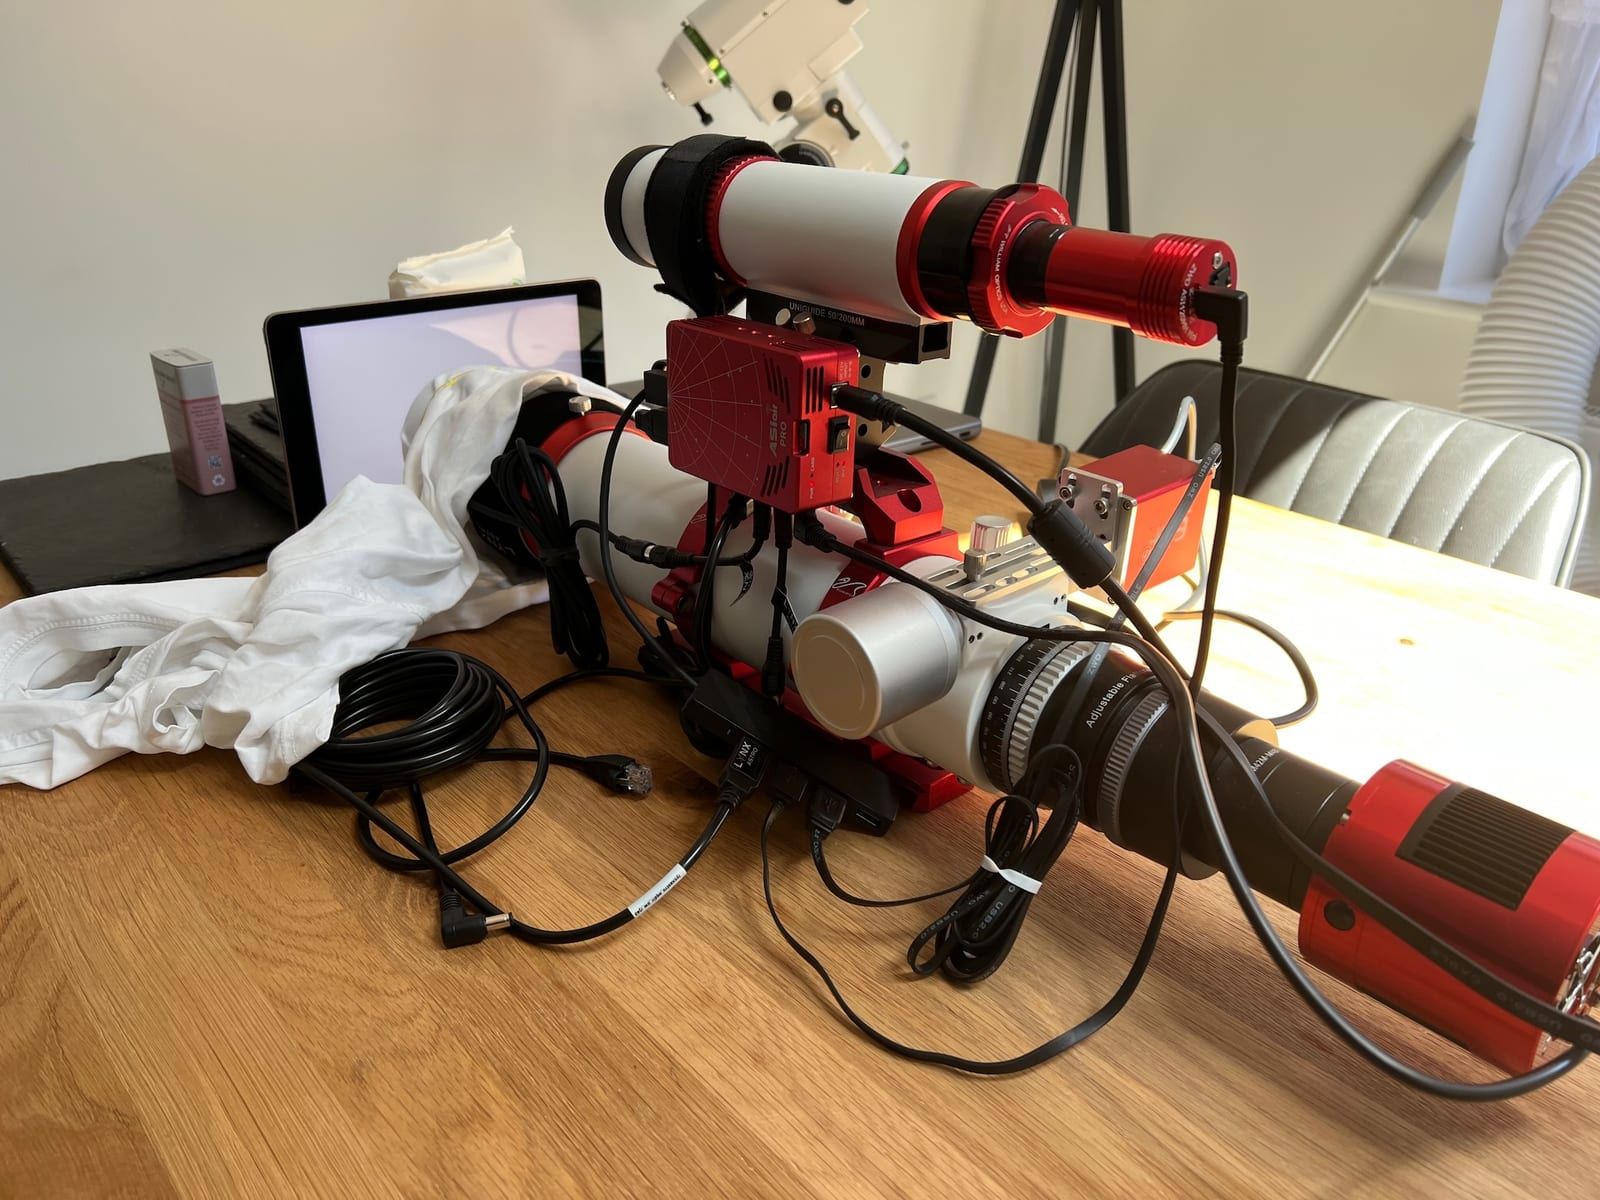
I set up the mount early in the day whilst it was still light so that I could precisely level it on my patio using a spirit level. I then spent some time ensuring the telescope was as well balanced as I could get it. Once it got dark enough around 11pm I was then able to polar align the scope, trying to be as precise as possible to aid guiding stability.
Next up I focused the scope and pointed it to M13. I set up a plan on the ASIAir for 200 x 30 seconds light subs at 120 gain (unity gain), cooled to -10C. I checked the first few subs as they came in to check the target was centred correctly and the exposure time was about right. To my surprise the images coming in were pretty decent so I left it to do its thing whilst I went to sleep.
The next morning, I wrapped up the imaging session by capturing the various calibration frames I'd need later for image processing:
- 100 x flat frames
- 100 x dark flat frames
- 500 x dark frames (which I kept for future use as a master dark)
The final job was to process the data. Over the last year or so I've experimented with a few different options to do this but have settled on PixInsight. It's not the most intuitive piece of software to use, but with a bit of determination you can get to grips with the basics pretty quickly and produce some pretty special images. There's no doubt in my mind that I'm still an absolute novice at using it and have a huge amount to learn but I'm pretty happy with the final image I managed to produce.