
Most of the time when I'm planning a night of imaging I default to looking for deep sky objects. These types of targets require dozens of long exposure subs which need stacking into a final image. Additionally, a good deep sky image also relies on the capture of a variety of calibration frames which are also used in the stacking process to help offset any unwanted artefacts in the image.
Planetary and lunar photography are rather different and instead rely on video; something I've not attempted until now. There is a fundamental similarity with deep sky photography though; they both require stacking of frames to generate a final image. In the case of lunar and planetary we use video frames instead of individual photos/subs.
A Renewed Effort
This leads me on to my latest attempt at photographing the Moon.
Lately the weather has turned in my favour, and I've had several nights of clear skies to make the most of. I've been using this time to collect a large amount of data on a single target which is still a work in progress that I'll write about once completed, however the target in question dips behind my house shortly after midnight. As a result, I'm left with a decent window of clear skies and astronomical darkness to experiment with.
Jupiter
Initially I was thinking about trying some planetary imaging, however my telescope simply doesn't have the focal length to capture anything worthwhile. This didn't stop me trying though, more out of curiosity than anything.
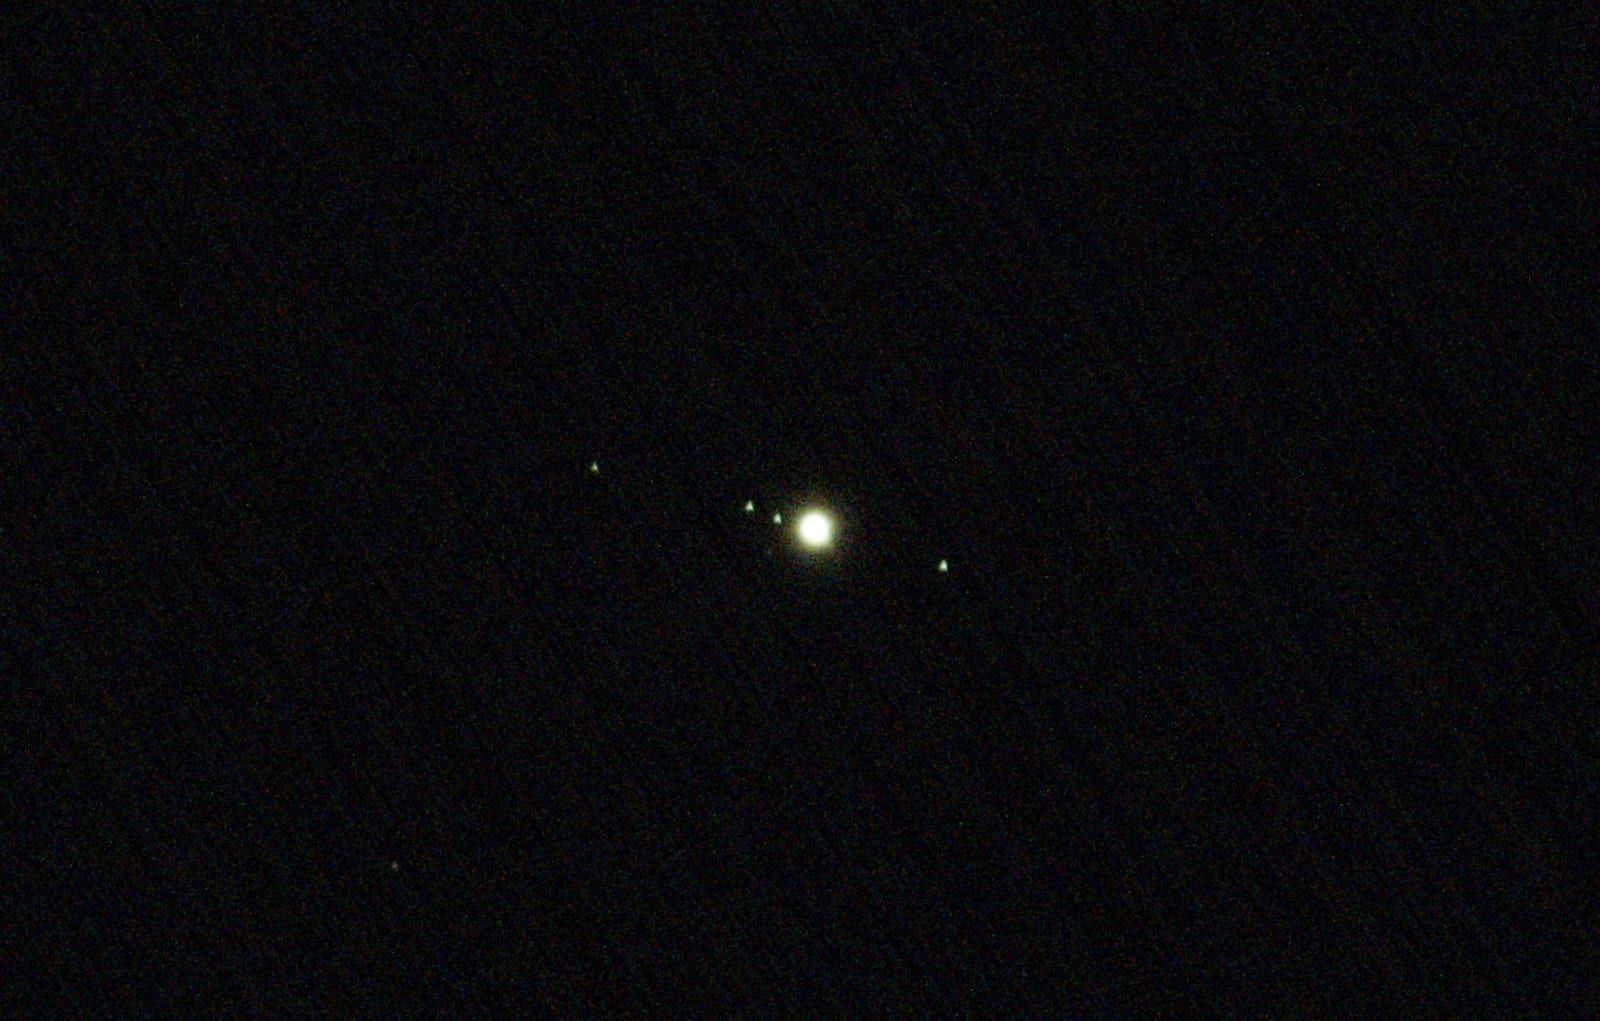
As you can see from the results below, even shooting the biggest of the planets in our solar system, Jupiter, results in a tiny blob of light in the image with no discernible detail. The only nice surprise that revealed itself was the visibility of several moons orbiting Jupiter. Working from left to right you can make out Callisto, Europa, Io, Jupiter itself and finally Ganymede.
The Moon
Once I'd wasted my time with that largely fruitless experiment I moved onto a target more likely to yield results; the Moon.
I plugged it in as a target on my iPad (which I use to control my mount via the ASIAir Pro) and watched it slew across the sky.
Once it arrived at its destination it then proceeded to try and verify the Moon was centred correctly. This quickly failed as there were no stars visible in the frame and as such plate solving the location was impossible. A brief preview shot also showed me that the moon wasn't centred in the frame, or even visible for that matter. All I could see was a haze coming off it in the edge of the image.
A few minutes later after fiddling about, manually moving the mount around I was able to get the Moon perfectly centred. I then switched the tracking mode over from sidereel to lunar tracking on the ASIAir so it would keep the Moon stable in shot.
The next step was to start capturing data.
As mentioned earlier, imaging in this setup required recording video rather than shooting individual subs. I played around with a few different video modes, tweaking the gain, white balance and other settings until I was happy with everything.
The final image was made up of 2 mins, 30 seconds of video. This may not seem like a lot but when you consider the number of frames per second, it adds up to be a sizable number of individual subs.
The stacking of this video was a process I was somewhat concerned about. Although there are a number of excellent options for processing astrophotography data on Mac for long exposure, deep sky images, I wasn't sure the same was true for video stacking.
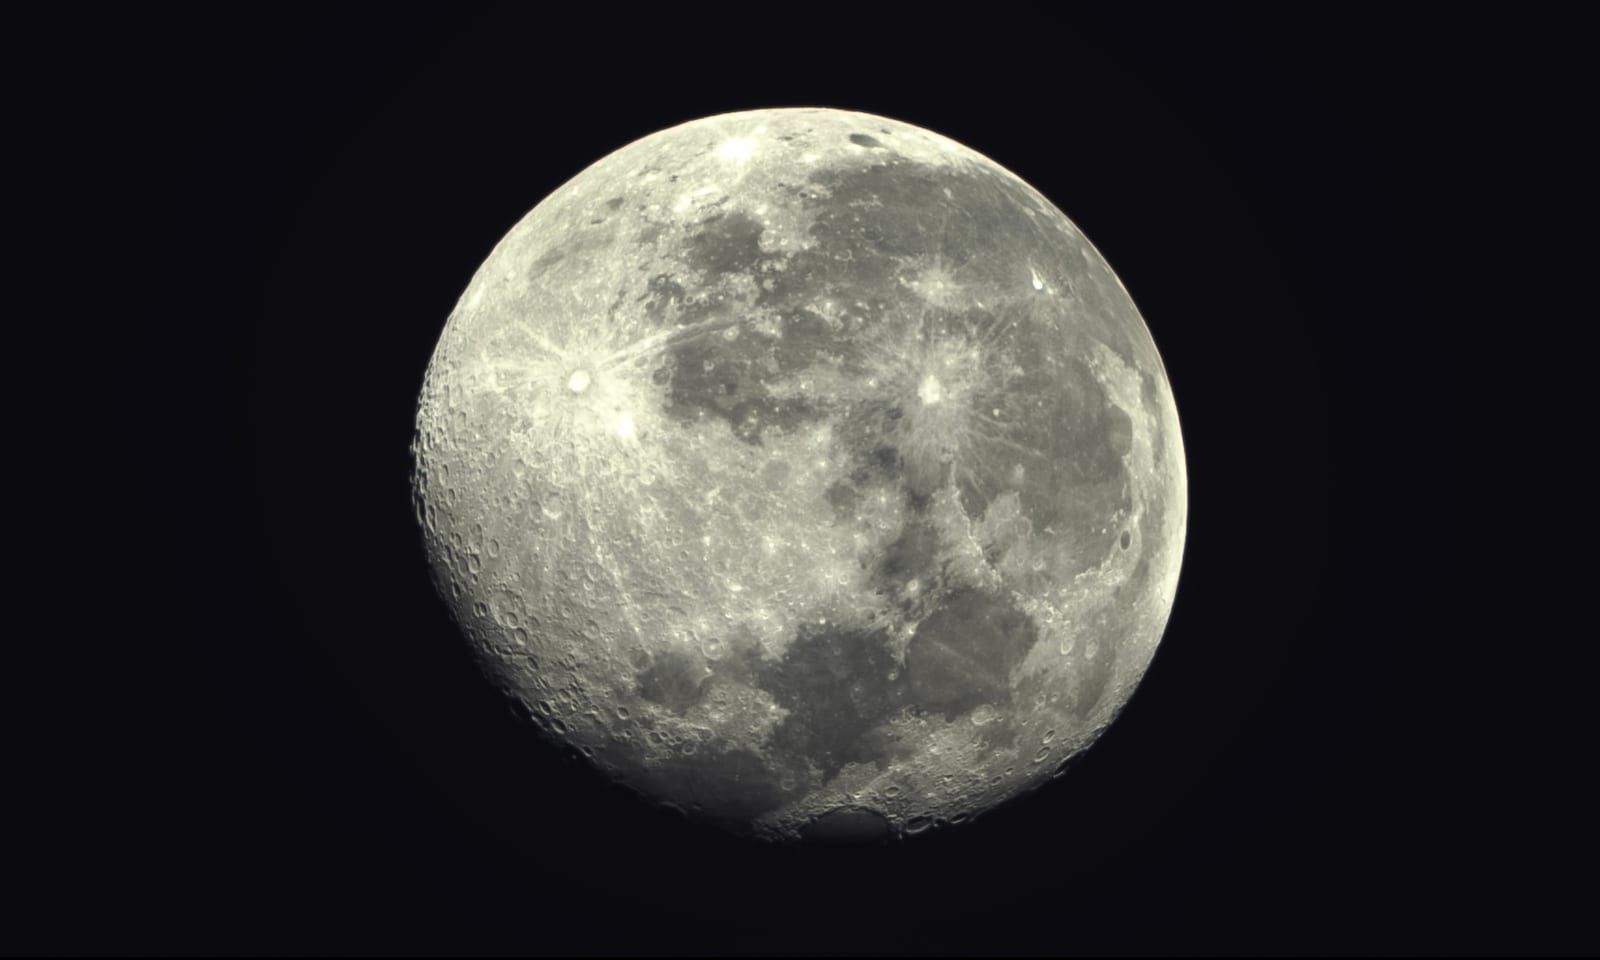
Fortunately, I discovered that the ASIAir Pro has a built-in video stacking capability so I opted to make the most of it. A few final tweaks later in Adobe Lightroom and the result is the image you see at the top of this post.
Overall, considering it was a bit of an ad-hoc experiment I'm very happy with the resulting image. The amount of detail you can pick out, particularly around the craters is pretty eye-catching. Beyond that I looked back and compared this image against previous attempts and I was delighted to see that things are slowly but surely improving.
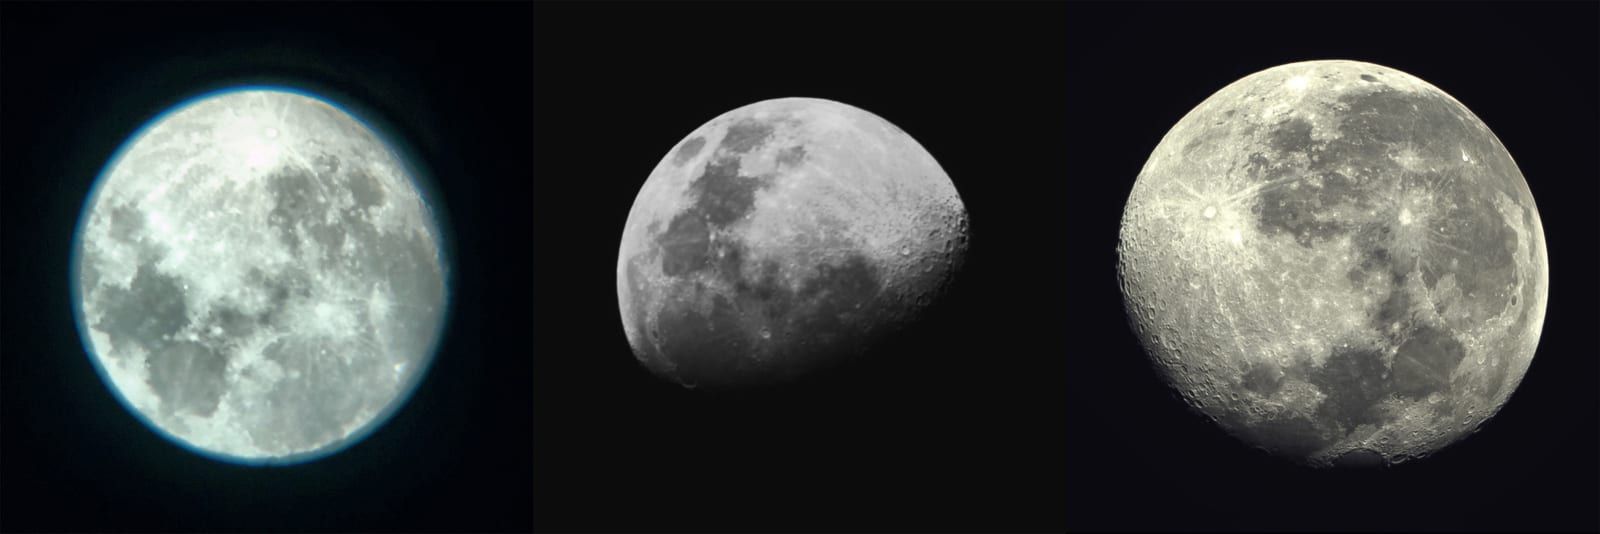
The images above were taken in 2020, 2021 and 2022 respectively. Fingers crossed any images I take in 2023 and beyond will continue to show further signs of improvements.
Thanks for reading and clear skies!